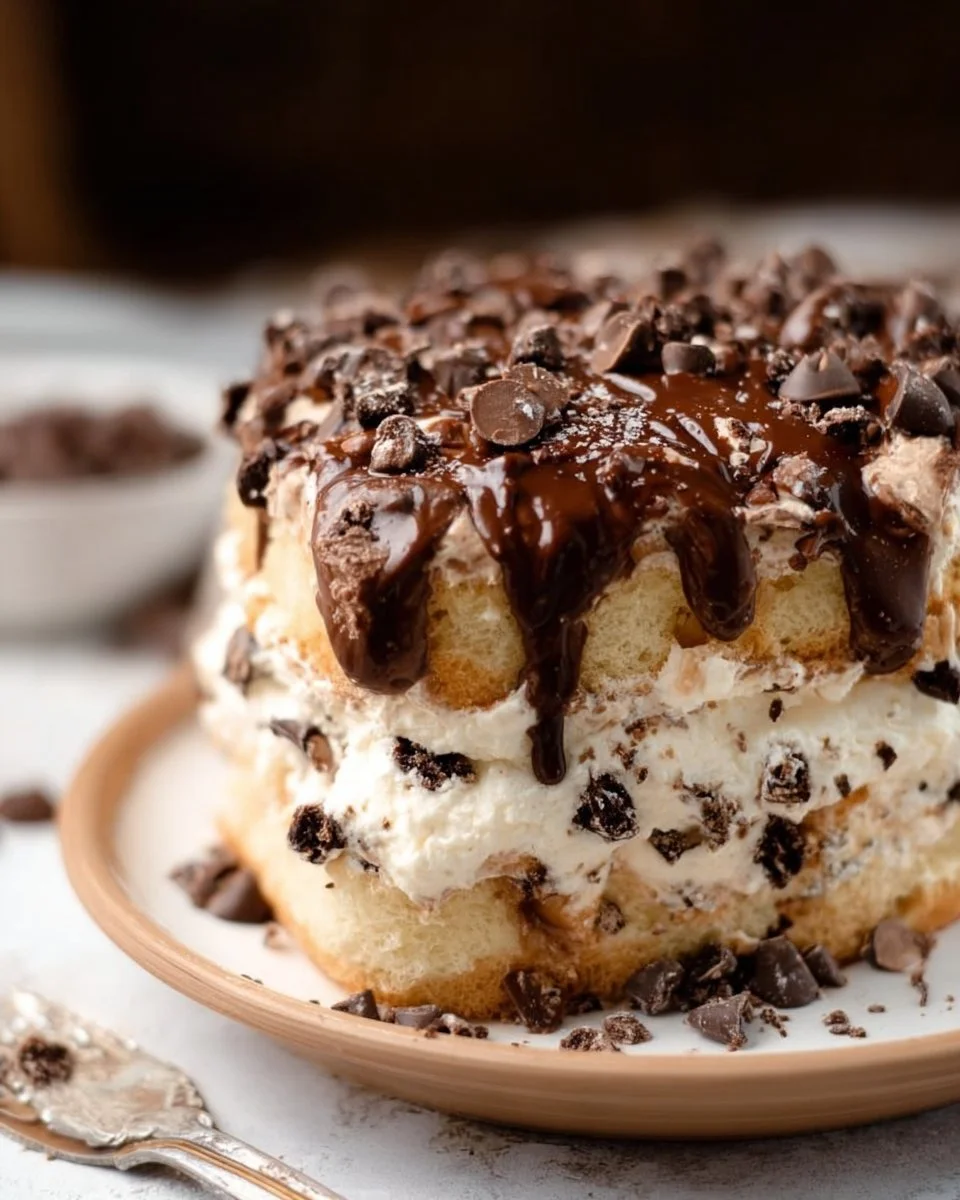
Dairy Queen Ice Cream Cake is a delightful dessert that combines rich chocolate and creamy vanilla ice cream, all layered on a crunchy chocolate cookie crust. This cake is a favorite among many and is perfect for birthdays, celebrations, or just a sweet treat on a hot day. Whether it’s a special occasion or a simple family gathering, this cake is sure to be a hit!
Why Make This Recipe
Making a Dairy Queen Ice Cream Cake at home means you can enjoy the delicious taste without having to go out. It’s a fun and satisfying project that requires only a few ingredients. Plus, you can customize it to your liking by adding your favorite toppings or flavors. This cake is a perfect way to celebrate with family and friends, making every moment extra sweet.
How to Make Dairy Queen Ice Cream Cake
Ingredients:
- 20 pieces Chocolate sandwich cookies, crushed
- 4 tablespoons Salted sweet cream butter, melted
- 1 quart Chocolate ice cream
- 1 quart Vanilla ice cream (Vanilla bean flavor works best)
- 11.75 ounces Hot fudge topping
- 2 cups Cold heavy cream
- 1 cup Powdered sugar
- 1 teaspoon Clear vanilla flavoring
- Colorful sprinkles (Optional garnish)
Directions:
- Combine the crushed chocolate sandwich cookies and melted butter in a bowl. Stir until it resembles wet sand.
- Press the mixture firmly into the bottom of a 9-inch springform pan. Freeze for 10–15 minutes.
- Let both the chocolate and vanilla ice cream soften slightly at room temperature for easy spreading.
- Spread the chocolate ice cream evenly over the chilled crust. Spoon and spread the hot fudge topping over the chocolate layer.
- Spread the vanilla ice cream gently on top of the fudge layer.
- Cover the cake with plastic wrap or foil and freeze for at least 4 hours or overnight until completely firm.
- In a chilled mixing bowl, beat the heavy cream on high until soft peaks form. Add powdered sugar and clear vanilla, continuing to whip until fluffy and stiff.
- Remove the frozen cake from the springform pan. Frost the top and sides with whipped cream. Add sprinkles or your favorite decorations.
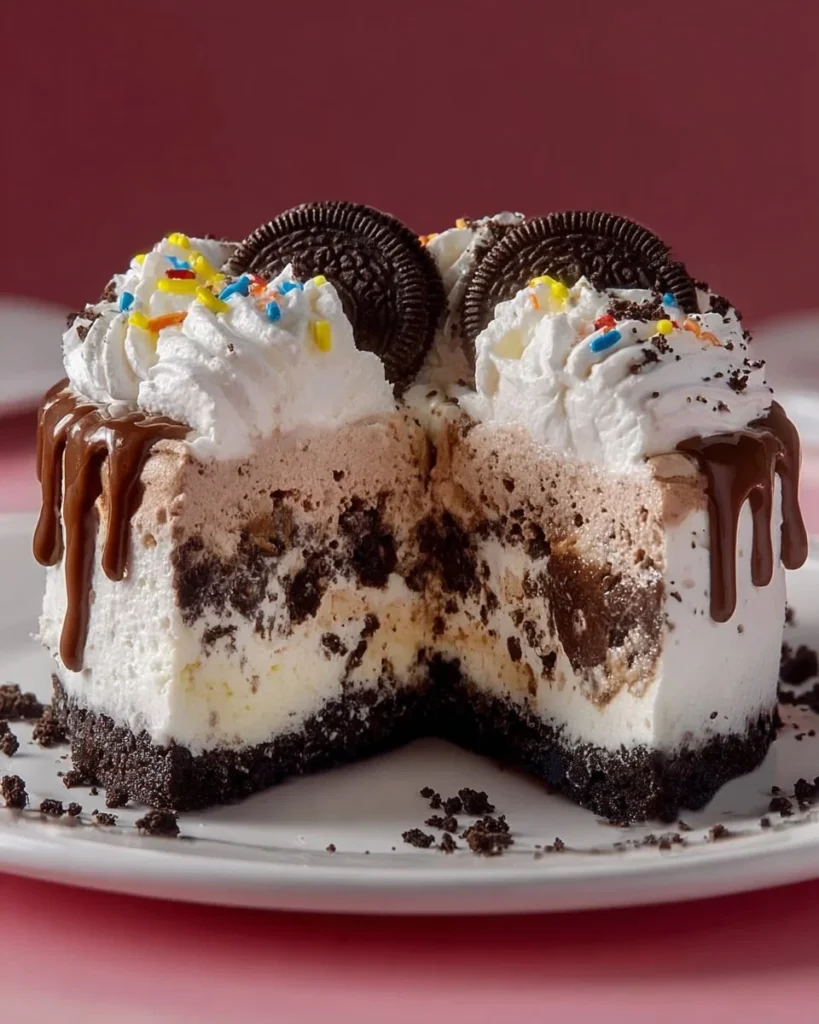
- Use a sharp knife dipped in warm water for clean slices. Serve immediately and enjoy the creamy, crunchy, chocolaty layers!
How to Serve Dairy Queen Ice Cream Cake
Slice the cake into wedges and serve it on chilled plates to keep it from melting too quickly. Enjoy it as is, or add extra hot fudge, whipped cream, or fresh fruits for added flavor. It’s a great dessert to share with family and friends!
How to Store Dairy Queen Ice Cream Cake
Store any leftover cake in the freezer. Make sure it’s covered tightly with plastic wrap or foil to prevent freezer burn. The cake can last up to two weeks in the freezer, but it’s best enjoyed fresh.
Tips to Make Dairy Queen Ice Cream Cake
- Let the ice cream soften for about 10-15 minutes before spreading. This makes it easier to work with.
- For a neater finish, dip your knife in warm water before slicing the cake.
- Feel free to mix in your favorite candies or cookies into the ice cream layers for extra crunch.
Variation
You can change up the ice cream flavors to suit your taste. Try strawberry, mint chocolate chip, or cookies and cream for a fun twist. You can also use different types of cookies for the crust, such as Oreos or graham crackers.
FAQs
Can I use homemade ice cream for this recipe?
Yes, homemade ice cream works great! Just ensure it’s firm enough to layer.
How do I get the crust to hold together better?
Make sure to press the crushed cookies firmly into the pan, and using a bit more melted butter can also help.
Can I make this cake in advance?
Absolutely! This cake can be made up to a week in advance and stored in the freezer until you’re ready to serve it.
Enjoy making your Dairy Queen Ice Cream Cake and indulge in every delicious bite! It’s a simple recipe that brings joy to any gathering—so get ready for the sweet smiles!

Dairy Queen Ice Cream Cake
Ingredients
Crust
- 20 pieces Chocolate sandwich cookies, crushed
- 4 tablespoons Salted sweet cream butter, melted
Ice Cream Layers
- 1 quart Chocolate ice cream
- 1 quart Vanilla ice cream Vanilla bean flavor works best
- 11.75 ounces Hot fudge topping
Whipped Topping
- 2 cups Cold heavy cream
- 1 cup Powdered sugar
- 1 teaspoon Clear vanilla flavoring
Garnish
- Colorful sprinkles Optional garnish
Instructions
Preparation
- Combine the crushed chocolate sandwich cookies and melted butter in a bowl. Stir until it resembles wet sand.
- Press the mixture firmly into the bottom of a 9-inch springform pan. Freeze for 10–15 minutes.
- Let both chocolate and vanilla ice cream soften slightly at room temperature for easy spreading.
Assembly
- Spread the chocolate ice cream evenly over the chilled crust. Spoon and spread the hot fudge topping over the chocolate layer.
- Spread the vanilla ice cream gently on top of the fudge layer.
- Cover the cake with plastic wrap or foil and freeze for at least 4 hours or overnight until completely firm.
Finishing Touch
- In a chilled mixing bowl, beat the heavy cream on high until soft peaks form. Add powdered sugar and clear vanilla, continuing to whip until fluffy and stiff.
- Remove the frozen cake from the springform pan. Frost the top and sides with whipped cream. Add sprinkles or your favorite decorations.
- Use a sharp knife dipped in warm water for clean slices. Serve immediately and enjoy the creamy, crunchy, chocolaty layers!