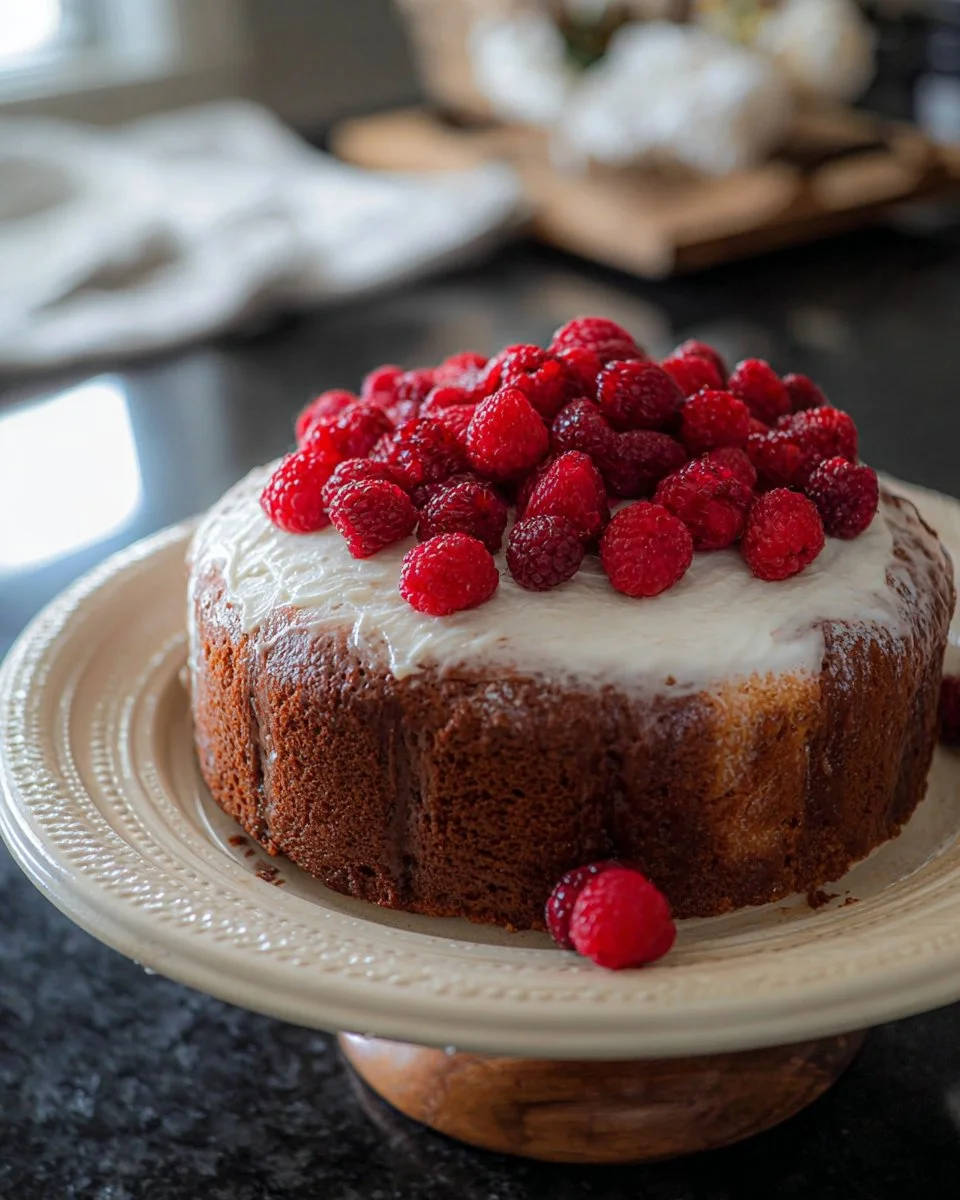
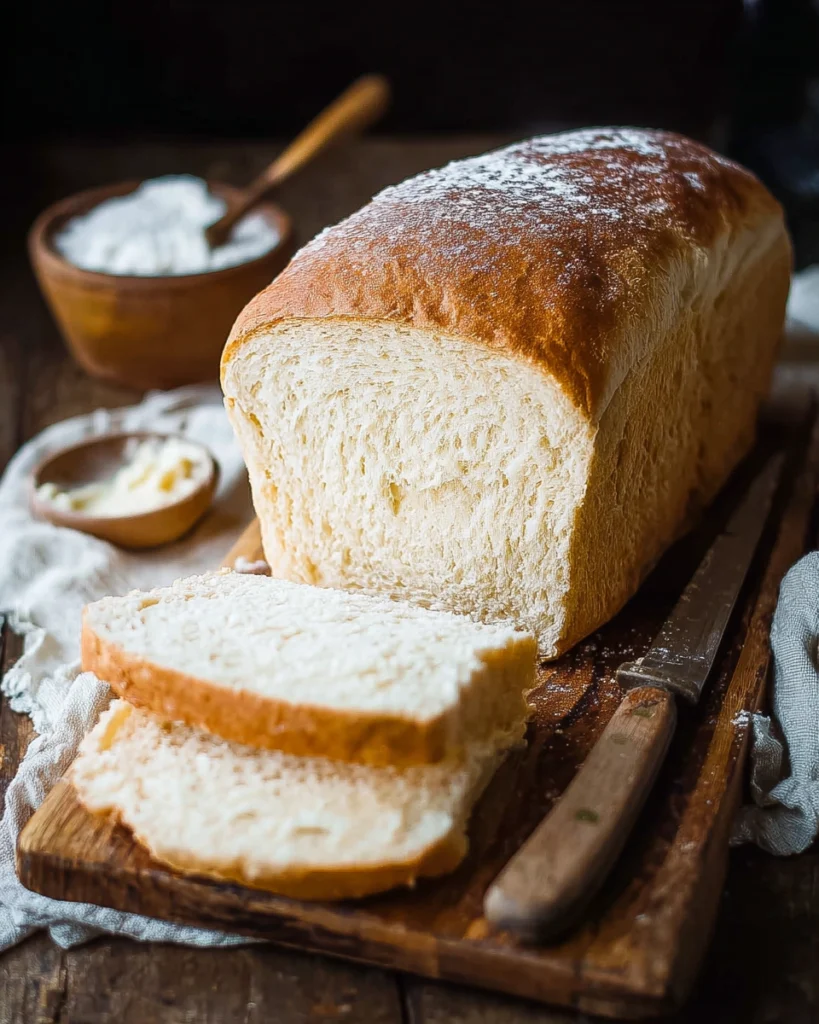
Imagine the warm, comforting aroma of freshly baked soft white bread filling your home. It’s a simple joy that’s often lost in today’s fast world. But, with homemade bread recipes for beginners, you can bring back that joy.
This easy recipe is perfect for beginners. It shows that making fresh, fluffy loaves is easy, even if you’re new to baking. Let’s explore how to make homemade bread for beginners, a journey that every family will love.
Key Takeaways
- Homemade soft white bread enriches your home with delightful aromas.
- This recipe is tailored for beginners and easy to follow.
- Baking your bread provides a sense of accomplishment and joy.
- Soft white bread is a wholesome option for family meals.
- Engaging with baking can create lasting memories in the kitchen.
Benefits of Making Homemade Bread
Making your own bread at home boosts your cooking skills and offers many benefits. It’s cheaper and lets you know exactly what’s in your food. This makes baking homemade bread, like white bread with sourdough starter, a rewarding choice.
Cost-Effectiveness Compared to Store-Bought Bread
Homemade bread is much cheaper than buying it from the store. A single loaf of high-quality bread can be expensive. But, the ingredients for homemade bread are often cheaper when bought in bulk.
Over time, you save a lot of money. This lets you enjoy fresh bread every day without breaking the bank. Plus, homemade bread tastes better than store-bought.
Healthier Ingredients Without Preservatives
When you make your own bread, you control what goes into it. You can use healthier ingredients that are better for you. This means avoiding preservatives and artificial additives found in store-bought bread.
Using quality flour and natural ingredients makes your bread taste better and be more nutritious. Baking white bread with sourdough starter not only improves the taste but also adds health benefits to your diet.

Essential Ingredients for Soft White Bread
To make soft white bread, you need a few key ingredients. They work together for the best taste and texture. Knowing the right flour choices, the role of yeast, and the importance of water temperature is key. This will help you make perfect bread for your beginner homemade bread journey.
Flour Choices: All-Purpose vs. Bread Flour
When picking flour, you have all-purpose flour and bread flour. All-purpose flour is good for many baked goods. But bread flour has more protein, making the bread chewier.
If you want a light bread, use bread flour. For more detailed recipes, check out this no-knead bread recipe.
The Role of Yeast in Bread Making
Yeast is key in bread making. It turns sugars into carbon dioxide and alcohol, making the bread rise. You can use active dry yeast or instant yeast for beginner homemade bread.
Make sure to check the yeast’s expiration date for the best results.
Importance of Water Temperature and Quality
The water you use affects yeast activation. Aim for warm water, around 90-110°F. This temperature helps yeast work well without killing it, leading to a good rise.

Tools You Need to Bake Soft White Bread
Starting your bread-baking journey needs the right tools for success. You can use a stand mixer or hand knead, each with its own benefits. Choosing the right loaf pan is key for the perfect shape and texture. Also, precise measurements are vital, so quality measuring cups and spoons are a must. Get these baking tools to improve your bread-making skills.
Stand Mixer vs. Hand Kneading
A stand mixer can change your baking routine. It has a dough hook that mixes and kneads the dough easily, saving time. Hand kneading, on the other hand, lets you connect with the dough more. Both methods make delicious bread, so it’s up to you to decide.
Choosing the Right Loaf Pan
The size and shape of your loaf pan greatly affect your bread. An 8×4-inch pan is great for the classic sandwich shape. Think about the material too. Metal pans heat up fast for crisp crusts, while glass pans bake evenly and let you see the browning. Pick a loaf pan that fits your baking needs.
Measuring Cups and Spoons
Getting the right measurements is essential for tasty soft white bread. Invest in good measuring cups and spoons for both dry and liquid ingredients. The right tools ensure you get the right mix, leading to consistent baking results. Tools like a bench scraper help with dough, and bowl covers protect it while it rises.
| Tool | Description | Benefits |
|---|---|---|
| Stand Mixer | A machine with a dough hook for mixing and kneading. | Saves time and energy in dough preparation. |
| Hand Kneading | Manual technique for mixing and developing dough. | Allows better feel for dough texture and consistency. |
| Loaf Pan | A container for shaping and baking bread. | Available in various sizes for different bread types. |
| Measuring Cups | Tools for accurately measuring ingredients. | Ensures correct ingredient ratios for consistent results. |
| Bench Scraper | A tool for cutting and lifting dough. | Facilitates handling sticky doughs and cleaning surfaces. |
Step-by-Step Soft White Bread Recipe
Making soft white bread is rewarding and easy. This guide shows you how to make delicious homemade bread. It will make your kitchen feel warmer.
Preparing the Dough: Mixing and Kneading
Start by mixing your ingredients in a bowl. Use flour, yeast, sugar, and salt. Add warm water slowly until the dough is soft but not too sticky.
Then, knead the dough for about 10 minutes. This makes the dough smooth and elastic. It’s important for a soft texture.
First Rise: Letting the Dough Bloom
After kneading, put the dough in a warm, draft-free spot. This first rise makes the dough double in size. It improves flavor and texture.
Let it rest for 1 to 1.5 hours. A warm kitchen spot helps with fermentation. It makes a big difference in your loaf.
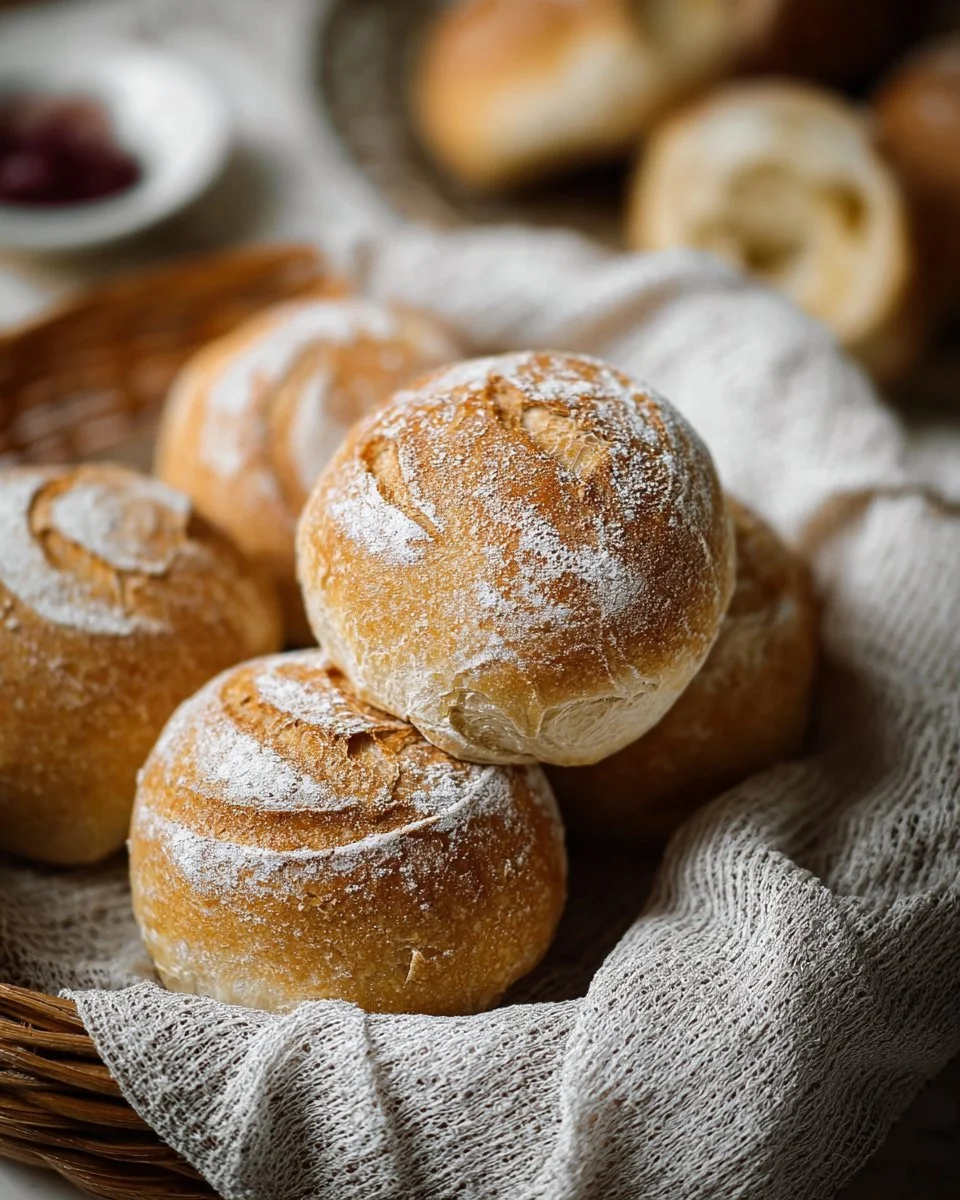
Shaping the Loaves: Techniques to Get It Right
When the dough has risen, punch it down gently. Divide it into equal parts and shape each into a loaf. Roll the dough tightly and tuck the ends in.
This makes the loaves rise evenly and get a beautiful crust.
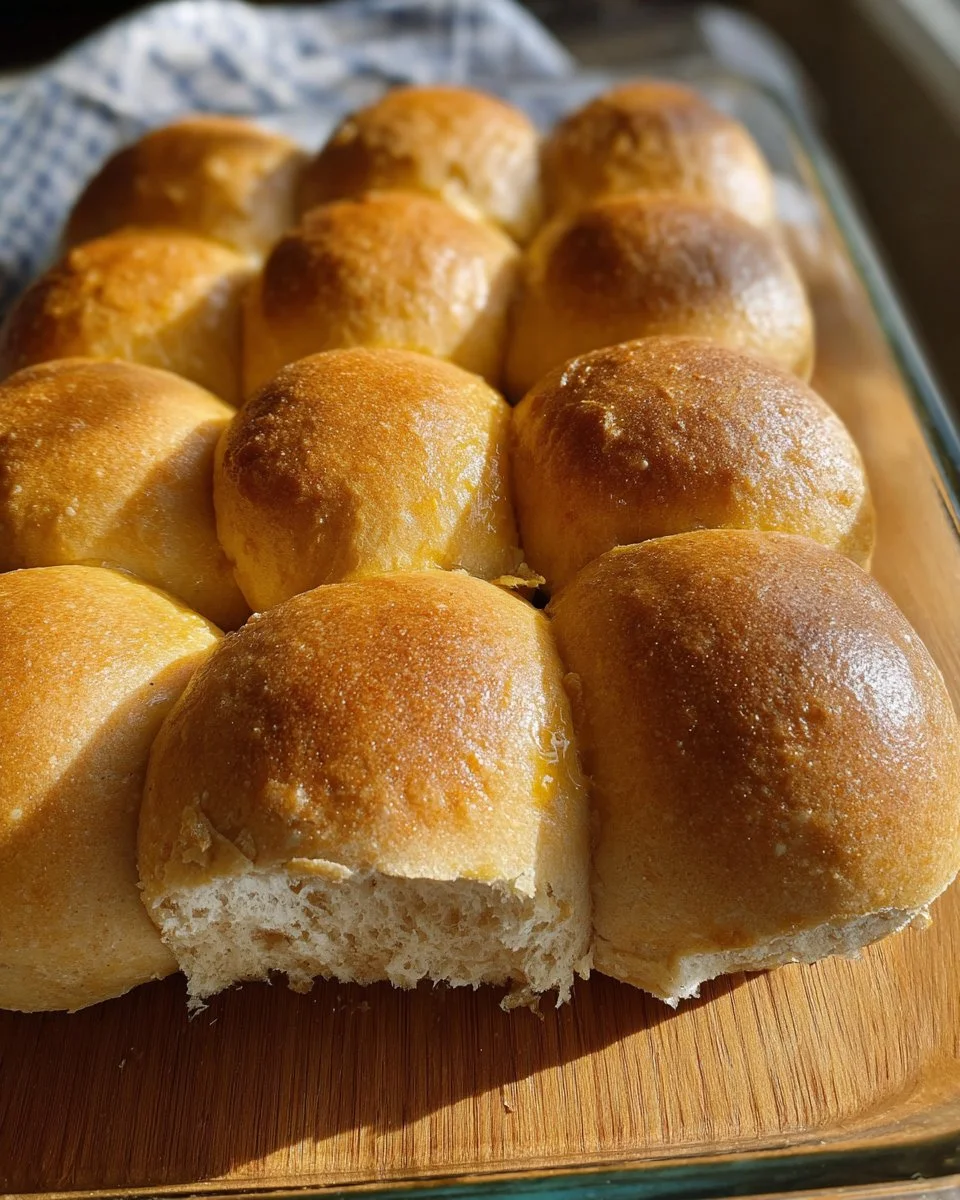
Baking Time and Temperature for Perfect Loaves
To bake, preheat your oven to 375°F. Bake for 25 to 30 minutes. Look for a golden crust and a hollow sound when tapping the loaf.
This step is key for a perfectly baked soft white bread. For more bread ideas, check out this quick and easy bread recipe.
Storing Homemade Soft White Bread
Making homemade bread is a big effort. Knowing how to store it right can make a big difference. It keeps the bread fresh and tasty for longer. Here are some tips to keep your bread fresh.
Best Practices for Freshness
Here are some tips to keep your bread fresh:
- Store your bread in a bread box to keep it moist.
- Use plastic wrap or a resealable bag to keep moisture in.
- Avoid direct sunlight and heat to prevent drying out.
Freezing Bread for Long-Term Storage
Freezing is a good option if you can’t eat your bread quickly. It keeps the bread fresh for later. Here’s how to freeze it:
- Slice the bread before freezing for easy use later.
- Wrap each slice in plastic wrap, then in a freezer bag. Remove air to avoid freezer burn.
- Mark the bags with the date so you know how long it’s been stored. Bread can stay fresh for up to three months in the freezer.
Learning how to store and freeze bread can make your homemade bread last longer. Enjoy your bread-making journey!
Using Your Soft White Bread
Soft white bread opens up a world of delicious possibilities for your meals. Whether you are looking for enticing breakfast recipes or tasty lunch options, this versatile bread can elevate your culinary experiences. Using homemade bread allows you to enjoy fresh flavors in your everyday meals.
Delicious Recipe Ideas for Breakfast and Lunch
Start your day with classic breakfast recipes that feature your homemade bread. A simple toast topped with butter or your favorite jam creates a satisfying morning ritual. You might also try nut butter for added richness and health benefits.
For a fun twist, craft gourmet avocado toast by layering ripe avocado, salt, pepper, and a sprinkle of chili flakes on toasted slices.
As lunchtime rolls around, the sandwich ideas become endless. Create a delicious turkey and cheese sandwich that satisfies your midday hunger. Experiment with various toppings, such as fresh greens, tomatoes, or mustard, to add flavor and texture.
You can even use leftover bread to make unique dishes. For instance, French toast and bread pudding are excellent ways to repurpose any remaining slices while indulging your taste buds.
How to Make Toast and Sandwiches
Making toast with your soft white bread is simple and rewarding. Just pop slices in the toaster until golden brown, and you’ll have a warm base for any toppings you like. When preparing sandwiches, ensure the bread maintains its softness by lightly toasting only one side if desired.
This crunchy base can complement fillings while keeping the overall sandwich deliciously tender.
For even more inspiration, you can explore more ideas on this webpage. The possibilities are endless when using homemade bread, making every meal an opportunity to enjoy your creations.
Tips and Tricks for Baking Success
Baking soft white bread needs careful attention. By avoiding common mistakes, you can improve your baking. Knowing these tips will help make your bread light and fluffy. Also, adjusting for weather and humidity is key to your dough’s success.
Common Mistakes to Avoid
One big mistake is over-proofing the dough, which makes it flat. Your dough should double in size but not go over. Under-kneading is another issue; kneading well is essential for a soft texture. Here are more mistakes to watch out for:
- Using expired yeast, which results in poor rising.
- Not measuring ingredients accurately, causing imbalance in the dough.
- Neglecting to let bread cool fully before slicing, affecting texture and flavor.
Adjusting for Weather and Humidity
The baking environment greatly affects your bread’s outcome. In humid weather, flour absorbs moisture, making dough sticky. Dry weather can make dough stiff. Here are tips for adjusting to these conditions:
- Increase the amount of flour slightly in humid conditions to maintain dough consistency.
- In dry conditions, consider adding a bit more water to keep the dough pliable.
- Time your proofing based on temperature: shorter rises in warmer weather.
Conclusion
Baking soft white bread at home is rewarding and brings many benefits. You only need simple ingredients and basic tools to make delicious loaves. The aroma they create fills your kitchen with joy.
After baking, you’ll feel a great sense of accomplishment. You’ll know you made something fresh from scratch. This feeling is hard to beat.
Soft white bread is great for many meals, like warm sandwiches or breakfast toast. You can find recipes, like those in this link, to inspire you. Baking is a skill anyone can learn with practice and passion.
Start your baking journey with an open heart. Don’t worry about small mistakes. Each try brings you closer to the perfect loaf. So, get ready, and enjoy your homemade bread journey!
FAQ
Is baking soft white bread time-consuming?
No, it’s not! The whole process takes a few hours, but most of that time is waiting for the dough to rise. You can have fresh bread without spending all day cooking.
Can I use whole wheat flour instead of all-purpose flour?
Yes, you can! But remember, whole wheat flour makes the bread denser. For a lighter texture, mix it with all-purpose or bread flour.
How can I tell if my bread is done baking?
Tap the bottom of the loaf; it should sound hollow. The top should be golden, and the inside should be 190-200°F for perfect bread.
What’s the best way to store homemade bread?
Store it in a bread box or wrap it in plastic to keep it moist. For longer storage, freeze slices in plastic or foil.
Can I make this bread recipe without a stand mixer?
Absolutely! Knead the dough by hand for 10-15 minutes until it’s smooth and elastic.
How do I avoid over-proofing my dough?
Watch the dough as it rises. It should double but not collapse. If it’s warm, check it sooner than the suggested time.
Can this bread recipe be adjusted for different flavors?
Yes! Add herbs, cheese, or spices for a unique taste. Just be careful not to add too much moisture.
What can I do with leftover bread?
Use leftover bread for French toast, breadcrumbs, or bread pudding. There are many creative ways to use it!
Soft White Bread
Ingredients
Dough Ingredients
- 4 cups All-purpose flour or bread flour Use bread flour for a chewier texture.
- 2 tablespoons Sugar Helps with yeast activation.
- 2 teaspoons Salt Enhances flavor.
- 1 packet Active dry or instant yeast Ensure yeast is fresh for best results.
- 1.5 cups Warm water Water temperature should be 90-110°F for yeast activation.
Instructions
Preparation
- In a large bowl, mix the flour, yeast, sugar, and salt together.
- Gradually add warm water, mixing until a soft dough forms.
- Knead the dough on a floured surface for about 10 minutes until smooth and elastic.
First Rise
- Place the kneaded dough in a greased bowl and cover it with a cloth.
- Allow the dough to rise in a warm, draft-free area for 1 to 1.5 hours, or until it doubles in size.
Shaping and Second Rise
- Punch down the risen dough gently and divide it into equal parts.
- Shape each part into a loaf and place into a greased loaf pan.
- Cover with a cloth and let rise for another 30 minutes.
Baking
- Preheat the oven to 375°F.
- Bake the loaves for 25 to 30 minutes until golden brown and sound hollow when tapped.