Imagine walking into your kitchen and smelling fresh bread. The warm, crusty loaf on the counter calls to you. You can slice it and spread butter without kneading. This is the magic of no-knead bread.
If making homemade bread seems scary, you’re in for a treat. This guide will show you how to make stunning, artisan-style loaves easily. Baking bread can be fun, not a chore. Let’s start this tasty journey together, with simple steps and patience.
Key Takeaways
- No-knead bread is simple and requires minimal effort.
- You can create artisan-style bread at home without advanced skills.
- This method allows for flexible timing, making it convenient for your schedule.
- Only a few essential ingredients are needed for delicious results.
- Baking no-knead bread can become a joyful routine in your kitchen.
Introduction to No-Knead Bread
No-knead bread is a favorite among home bakers for its simplicity and great taste. It was made famous by Jim Lahey. This method lets you make a crusty, chewy loaf with little effort.
With just flour, water, yeast, and salt, you can make your own no-knead bread. The fermentation process adds rich flavors. It also skips the need for kneading, making it easy for everyone to bake.
What Makes No-Knead Bread So Special?
No-knead bread has won the hearts of many bakers. It makes making artisan bread easy and fun. Its special qualities make it a hit with both new and experienced bakers. Let’s explore what makes this bread so unique and how easy it is to make.
Artisan Characteristics
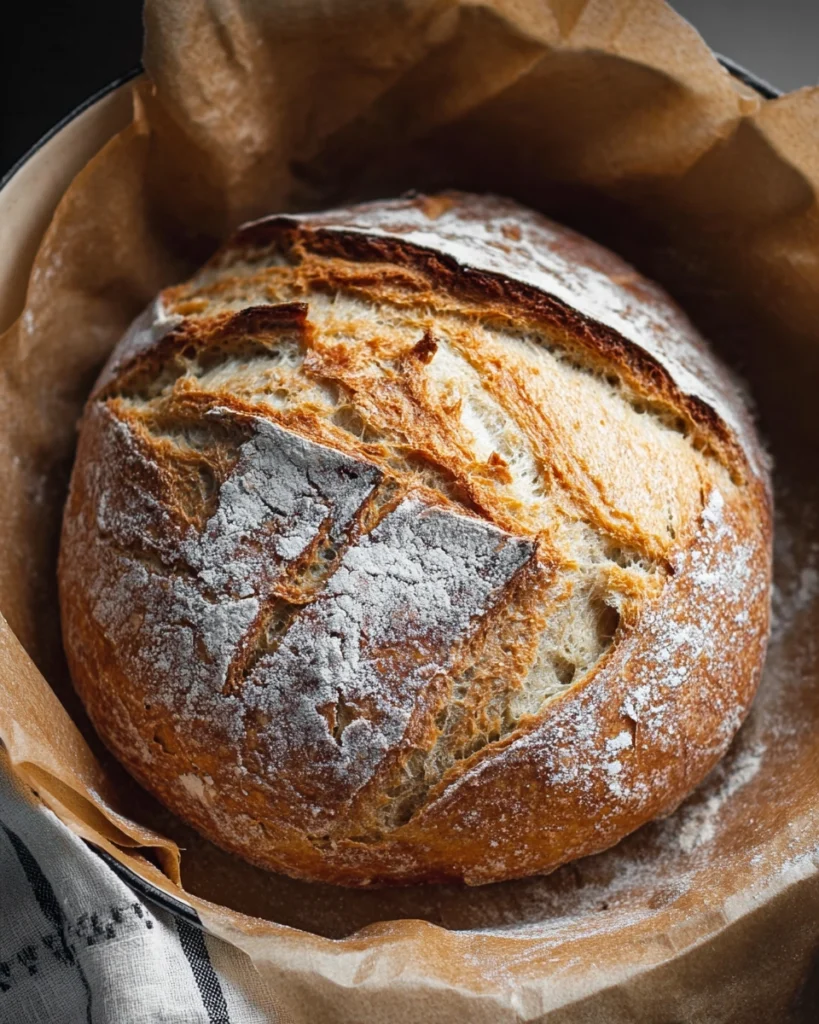
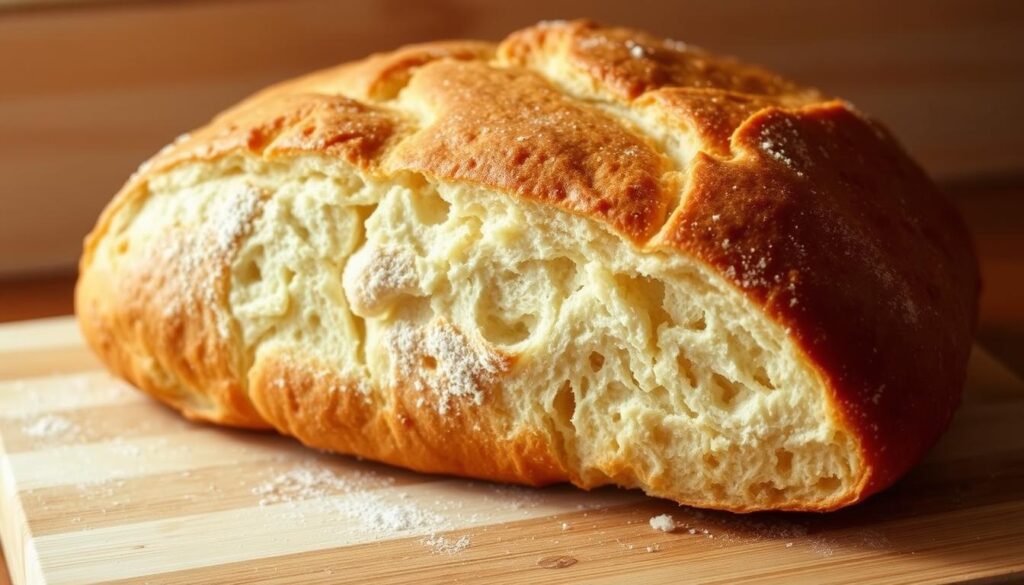
No-knead artisan bread has a thick, crispy crust and a chewy inside. It has big air pockets, like sourdough. With simple recipes, you can make a loaf as good as a bakery’s at home.
The bread’s open crumb is perfect for toppings. Whether it’s spreads or soups, it’s a joy to eat.
Minimal Effort Required
No-knead bread is easy to make, needing just three minutes of your time. You mix, let it rise, and voila! The recipe is flexible, with rising times from two hours to three days.
This means you can bake on your schedule. You’ll have a freshly baked loaf to share with loved ones.
Essential Ingredients for No-Knead Bread
Knowing the key ingredients is key to making great no-knead bread. The right mix of flour, yeast, and water makes all the difference. It’s what turns simple bread making into a fun, rewarding experience.
Flour Types: Bread Flour vs. All-Purpose Flour
The flour you pick affects your bread’s texture and taste. Bread flour has more protein, which helps it rise better. It makes your bread light and airy, perfect for baking.
All-purpose flour works too, but it might not be as fluffy. It’s good for simpler recipes, but for a fluffier loaf, bread flour is the way to go.
The Role of Yeast in Bread Making
Yeast is what makes your bread light and airy. Instant yeast is great because it’s easy to use. It doesn’t need to be dissolved before mixing, making the process quicker.
Using instant yeast helps your dough rise faster. This means you can enjoy your homemade bread sooner. Traditional yeast takes longer, which can slow you down.
Importance of Water Temperature
Water temperature is important for yeast to work well. Warm water is best because it activates yeast without burning it. Aim for water between 100°F and 110°F.
Using the right water temperature helps your bread taste better. It also helps it rise more evenly, making your no-knead bread a success.
Step-by-Step Process for Making No-Knead Bread
Making easy no knead bread is fun and simple. You just need a few basic steps. Start by getting your ingredients ready. Then, follow these easy steps to make a great loaf of oven bread with little effort.
Mixing Ingredients
First, mix flour, yeast, and salt in a big bowl. Stir until they’re well combined. Then, add warm water slowly, mixing until everything comes together in a shaggy dough. This method is quick and easy, so you don’t need to knead the dough.
First Rise: The Magic of Fermentation
After mixing, let the dough rise for at least two hours. Cover it with a clean towel and keep it warm. The dough will grow and become bubbly, showing it’s fermenting. This step is key for a light and airy bread.
Pre-heating the Dutch Oven
While the dough rises, heat your Dutch oven. Set your oven to 450°F (230°C). This step is important for a crispy crust. The hot Dutch oven and wet dough create a special steamy environment.
Shaping and Baking: Tips for Success
Learning to shape and bake your dutch oven bread can make your baking more rewarding. This part shares key tips for working with wet dough. It also shows how to get a crusty exterior, a key feature of artisan bread.
Handling the Wet Dough
Working with wet dough? A dough scraper is your go-to tool. Use it to fold in the dough’s sides gently. Don’t overdo the flour; a little dusting is enough to keep things moist.
The goal is to shape a shaggy ball. This helps create airy pockets for a light crumb. Place the dough on parchment paper, making sure the top is up. This is important for an even bake in the Dutch oven.
Creating a Crusty Exterior
Baking in a Dutch oven is perfect for making crusty bread. Put the dough in, then cover the pot for the first 30 minutes. This traps steam, helping the crust form.
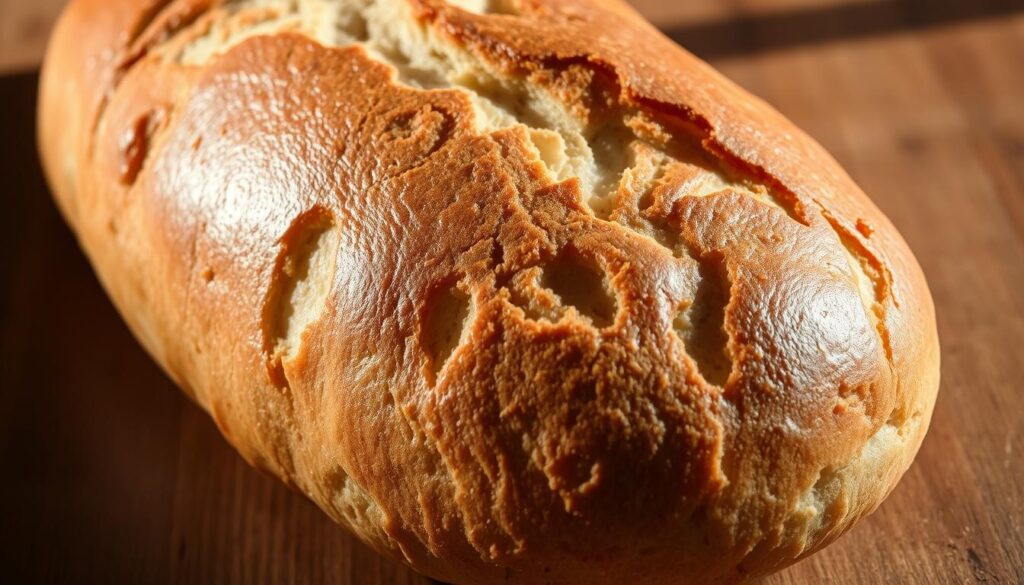
After 30 minutes, remove the lid. Let the bread bake some more. This will make the outside crispy and golden. You’ll end up with a rustic loaf that’s full of texture.
No-Knead Bread Variations to Try
Mastering the no-knead bread recipe opens up a world of possibilities. You can make it your own with exciting variations. Homemade bread is easy to make and always impresses.
Herbed No-Knead Bread
Adding fresh herbs like rosemary or thyme can make your bread taste amazing. This herbed no-knead bread is perfect with many dishes. It also fills your kitchen with a wonderful smell. Just mix in the chopped herbs when you first mix the dough.
No-Knead Cheese Bread
Try adding your favorite shredded cheese for a savory treat. The melted cheese makes the bread soft and adds flavor. It’s great with soups or salads. Fold in the cheese before the final rise for a delicious loaf.
With these variations, your homemade bread adventures can go on forever. For more ideas, check out this keto sourdough bread recipe.
Why Use a Dutch Oven for Baking?
A Dutch oven is key for making dutch oven bread. It captures steam during baking, which is essential. This steam helps create a crusty outside and a soft inside.
Preheating your Dutch oven makes baking better. It ensures even heat, leading to great texture and flavor. Using it for artisan bread recipes can make you feel like a pro baker at home.
Getting a Dutch oven is a smart move for bakers. It makes baking easier and lets you make many tasty breads. So, start using your Dutch oven to improve your baking.
Common Mistakes to Avoid with No-Knead Bread
Baking no-knead bread is easy and fun for everyone. A few things can affect your bread’s quality. Paying attention to water measurement and oven preheating is key.
Incorrect Water Measurement
Measuring water accurately is important. Too little water makes bread dense and dry. Too much makes it sticky and hard to handle.
Always measure water carefully. Use the right temperature to help yeast work well. This makes your bread light and airy.
Not Preheating the Oven Properly
Not preheating the oven is another mistake. If the Dutch oven isn’t hot, your bread won’t get a nice crust. This affects the texture and flavor.
To avoid this, preheat your oven as recommended. This ensures your bread turns out perfectly.
| Mistake | Impact | How to Avoid |
|---|---|---|
| Incorrect Water Measurement | Dense or overly sticky bread | Measure carefully, use right temperature |
| Not Preheating the Oven | Soft crust, underwhelming texture | Preheat for recommended time |
How to Store Leftover No-Knead Bread
Storing leftover no-knead bread right can keep its taste and texture fresh. Homemade bread is easy to make and should be enjoyed at its best. Here are some tips to keep your crusty bread fresh.
Best Practices for Bread Storage
To keep your no-knead bread fresh, store it in a cool, dry spot. Use an airtight container or wrap it in a paper bag. Avoid plastic bags because they can make the bread soggy.
Freezing Bread for Future Use
If you have extra bread, freeze it for later. Slice the bread before freezing for easy use. Put the slices in a freezer-safe bag and remove air before sealing.
When you want to eat it, thaw the bread at room temperature or toast it from the freezer. Freezing helps keep the bread’s delicious taste and texture.
Serving Suggestions for Freshly Baked Bread
Freshly baked easy no knead bread is a treat on its own. It also offers many ways to pair with dips, sides, and spreads. It’s perfect for cozy dinners or big gatherings, making any meal better.
Pairing with Dips and Spreads
For dips, try classic hummus or olive oil with balsamic vinegar. These pair well with the warm, rustic taste of your bread. For something sweet, a butter spread with herbs is great. Slice the bread thick for avocado toast or make tasty sandwiches.
Great Side Dishes for No-Knead Bread
This artisan bread is great with many dishes. It’s perfect with warm soups or fresh salads. It’s also good with rich pasta or savory stews. Try different bread recipes to find new flavors to enjoy.
Your easy no knead bread will be a favorite in your kitchen. It pairs well with many flavors. Find more artisan bread recipes for your next baking project.
Final Thoughts on Your No-Knead Bread Journey
Starting your no-knead bread journey is exciting. It brings joy and satisfaction with every homemade loaf. The beauty of easy no knead bread is its flexibility. It fits perfectly into your schedule.
Whether you bake right away or let the dough develop, each method has its rewards. These rewards go beyond what you expect.
Mastering easy homemade bread recipes will give you crusty bread. This bread fills your home with warmth and great smells. Remember, each loaf makes your experience richer, nourishing your body and spirit.
Embrace the journey and enjoy the delicious results. These come from simple ingredients.
Conclusion
No-knead bread is more than a trend; it’s a fun way to make tasty loaves at home. With a few easy steps, you can get the soft, flavorful bread of artisan recipes. This method is great because you can change up the flavors to suit your taste.
When you try making no-knead bread, feel free to add your own twist. You can mix in herbs, cheeses, or other ingredients. This way, you make the bread truly yours. It’s perfect for impressing your loved ones with a homemade treat.
To get better at making no-knead bread, check out this guide. It offers tips for making your bread even better. Enjoy the process and the amazing smell of freshly baked bread in your home.
FAQ
What is no-knead bread?
No-knead bread is a simple way to make artisan-style bread. You only need flour, water, yeast, and salt. This method makes a delicious loaf with little effort.
How long does it take to make no-knead bread?
Mixing the ingredients takes about three minutes. The dough rises for two hours to three days. This lets you fit bread-making into your schedule.
Why is a Dutch oven necessary for baking no-knead bread?
A Dutch oven traps steam during baking. This creates a moist environment. It helps make a crusty exterior and soft interior, like a professional bakery.
Can I use all-purpose flour instead of bread flour?
You can use all-purpose flour, but bread flour is better. Bread flour has more protein. This makes the bread fluffier and with bigger holes.
What types of yeast can I use for no-knead bread?
Instant yeast or rapid-rise yeast work best. They make the process easier and quicker. You don’t need to dissolve them.
How should I store leftover no-knead bread?
Store leftover bread in a cool, dry place. Use an airtight container or a paper bag. Avoid plastic bags to keep it fresh.
Can I freeze no-knead bread?
Yes! Slice the bread before freezing. Seal it in a freezer-safe bag. To enjoy, thaw at room temperature or toast from the freezer.
What are some popular variations of no-knead bread?
Try adding herbs like rosemary or thyme for a herbed bread. Folding in shredded cheese before baking is also tasty. It adds a comforting texture.
How can I tell if my no-knead bread is properly baked?
It’s baked when the crust is thick and crispy. It should sound hollow when tapped. A deep golden-brown color means it’s perfect.
What should I do if my no-knead bread is too dense?
A dense loaf might mean too little water or not enough rising time. Make sure to measure water right. Give the dough enough time to rise for fluffiness.

Artisan No-Knead Bread
Ingredients
For the Bread
- 3 cups Bread flour Can substitute with all-purpose flour, but bread flour yields better results.
- 1 teaspoon Instant yeast Instant yeast helps dough rise faster without needing to dissolve.
- 1 teaspoon Salt Enhances flavor.
- 1.5 cups Warm water Temperature should be between 100°F and 110°F.
Instructions
Mixing Ingredients
- In a large bowl, mix together the flour, yeast, and salt until well combined.
- Gradually add warm water and mix until you have a shaggy dough.
First Rise
- Cover the bowl with a clean towel and let the dough rise in a warm place for at least 2 hours.
Preheating the Dutch Oven
- Preheat your oven to 450°F (230°C) and place a Dutch oven inside to heat up.
Shaping and Baking
- When the dough is ready, lightly flour a work surface and use a dough scraper to fold the dough over itself a few times.
- Transfer the dough onto a piece of parchment paper, shaping it into a ball.
- Place the dough (still on the parchment) into the preheated Dutch oven.
- Cover and bake for 30 minutes.
- Remove the lid and bake for an additional 15-20 minutes until the crust is golden and crispy.
