Let me tell you—if you’re here for a marshmallow recipe that actually works at home (and doesn’t leave you with a sticky countertop disaster), you’re in the right place. I remember scratching my head one rainy Sunday, craving s’mores but realizing the whole store-bought deal just wasn’t cutting it. That’s when I started noodling with homemade options. Like—why do we trust the bags at the store but shy away from making our own? Much to my surprise, a marshmallow recipe is way less scary than some think. Honestly, it’s no tougher than trying a new apple cake recipe or even a banana banana bread recipe. At the end, you’ll have fluffy, pillowy pieces that beat anything off a shelf. 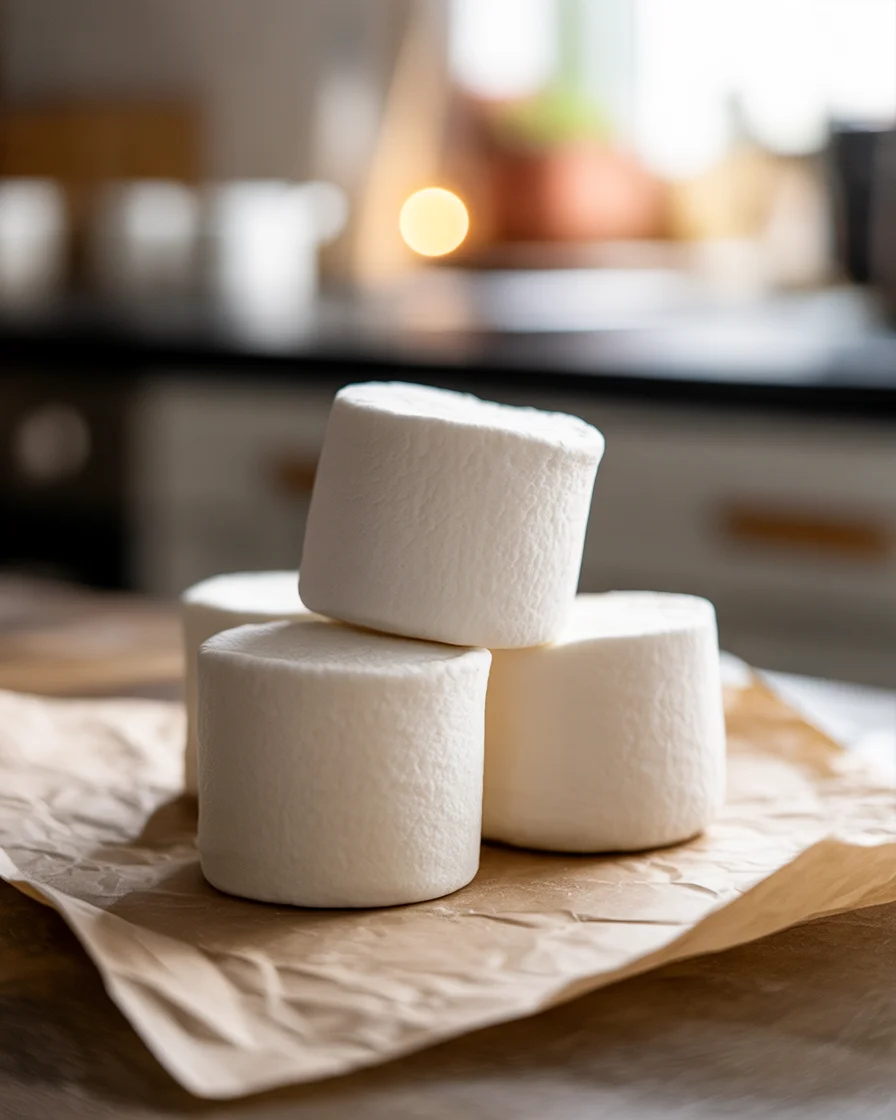
Ingredients You Need & Why
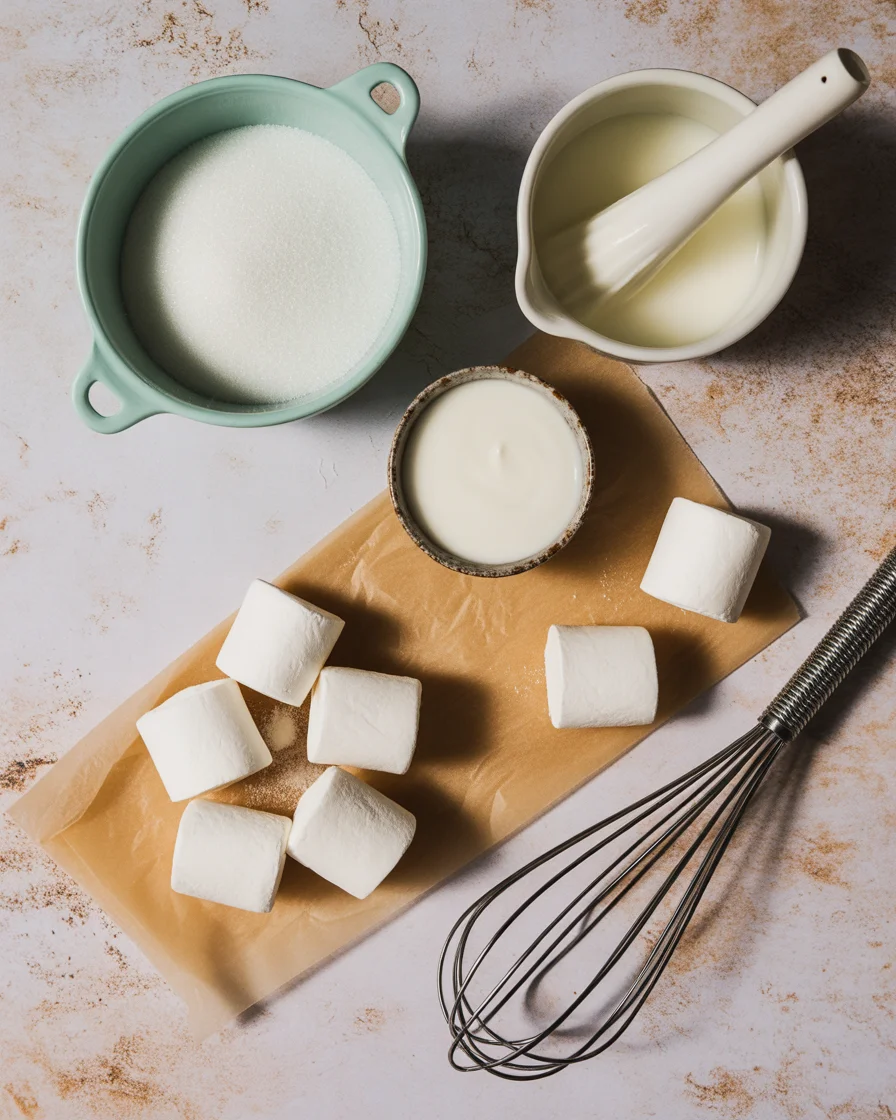
Let’s get real here. Sometimes “simple ingredients” in blogs mean you run to five stores, yeah? Not this time. To whip up homemade marshmallows, you mostly need stuff you probably already have.
Gelatin is your secret weapon. It’s what makes the marshmallows bouncy, not weird and gloopy. Sugar, obviously—unless you like savory mallows, which, whoa, that’s a choice. Corn syrup helps keep things smooth (not gritty or crystallized). Water? Duh. A little salt and vanilla extract for flavor. That’s kinda it! If you’re fancy, you can toss in food coloring or extracts, but truly, the basic stuff rocks.
I’ve made marshmallows with both store-brand and “fancy” vanilla—the difference is there, sure, but not, like, five-star restaurant levels. Skimp here and there if you gotta, but don’t skip the gelatin or sugar.
“Tried this recipe with my teenager and it came out way better than we expected. Never buying marshmallows again!”
– Jamie, upstate New York
Step-by-Step: Making Marshmallows
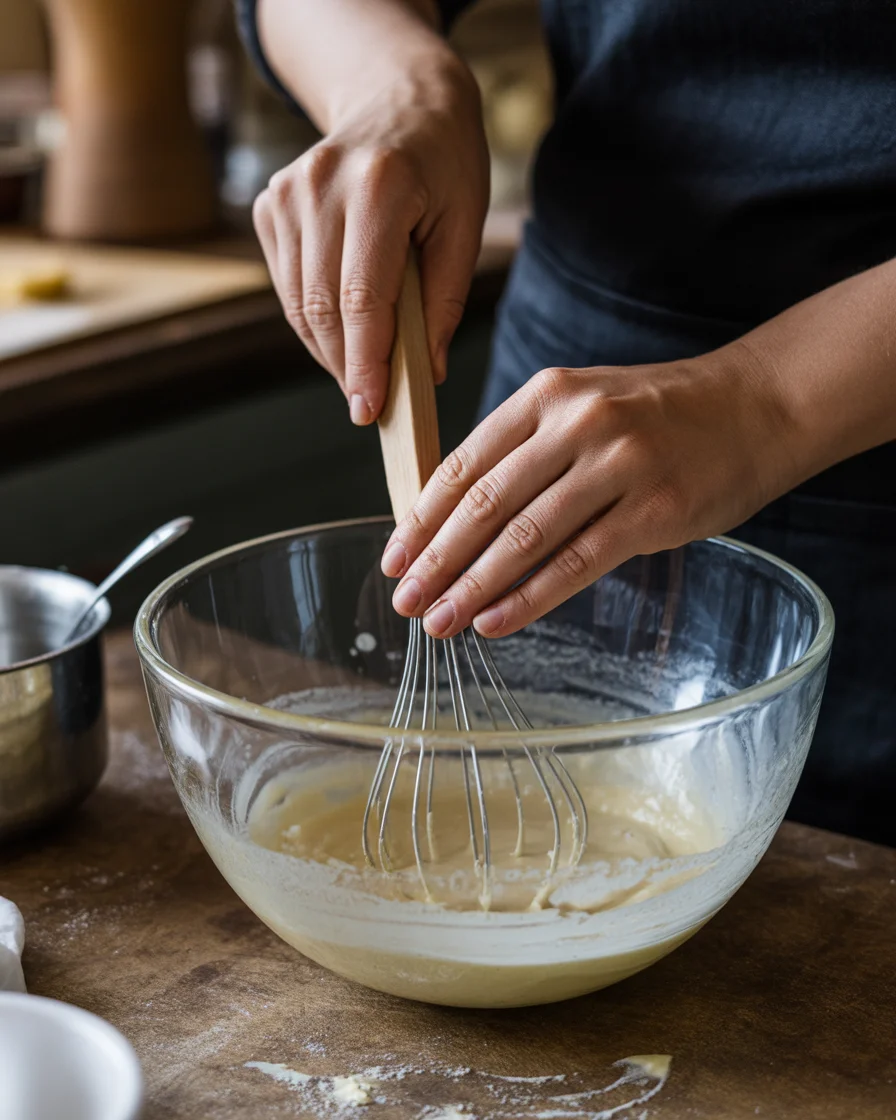
Alright, buckle up, because this part feels science-y but really isn’t—promise. Start by blooming your gelatin. Dump it in a bowl with cold water and just let it sit, like a sponge at the bottom of your sink. No magic here.
Meanwhile, heat your sugar, corn syrup, and more water in a saucepan. Let it get bubbly (careful, it’s hot lava) and hit about 240°F. That’s the “soft ball” stage if you wanna get technical—look at me getting fancy! Next, you pour this syrup into your softened gelatin, mixing on low at first (unless you like sugar splatters, which, ouch).
Crank up the speed to medium-high, and let that mixer run, probably about 10 minutes. You’re aiming for the mixture to become thick, white, and sticky. Kinda like shaving cream. Vanilla goes in last, then you just spread it in a greased pan, slap some powdered sugar on top, and wait. If you’re the impatient type, this part is actual torture.
Once they’re set, dust the top with more powdered sugar and slice to your heart’s content.
Do I Absolutely Need a Candy Thermometer?
Quick story—first time I made marshmallows, no candy thermometer anywhere. Did it work? Sorta. Were they perfect? Absolutely not, but they did taste good.
Listen, a candy thermometer gives best results for a marshmallow recipe, but you don’t have to have one to try this. You can test the syrup by dropping a bit into cold water—if it forms a soft, squishy ball, you’re golden! Too runny? Needs more heat. Already hard? Yeah, you may have gone too far. Old-school but it works in a pinch.
Honestly, if you’re a kitchen gear nerd, get the thermometer. If not—don’t sweat it and just keep a close eye. Oh and, distractingly, don’t answer texts mid-way. Sugar boils real fast.
“Never owned a candy thermometer, followed your old-school tip, and my homemade marshmallows turned out so fluffy!”
– Mark, Seattle
How Do I Neatly Cut Homemade Marshmallows?
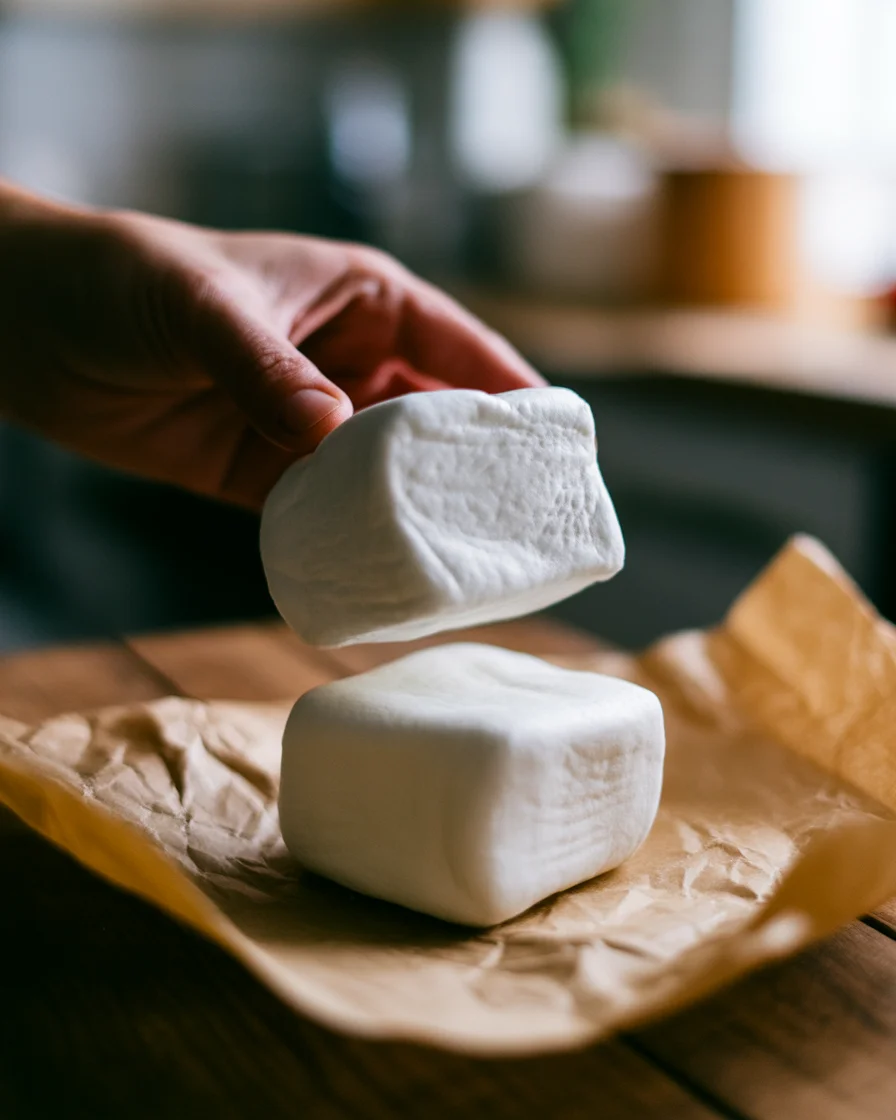
Cutting marshmallows… if you don’t prep right, it’s an absolute sticky mess. Full-on glue mode. Here’s a trick I swear by: coat a sharp knife or your kitchen scissors with a mix of powdered sugar and cornstarch before you even touch your batch. Each slice, re-coat the knife. Yes, it feels extra, but it just works.
And don’t get greedy, cutting huge pieces. Smaller cubes = easier to handle and less chaos. I’ve even used cookie cutters for fun shapes with the kiddos. They get a kick out of it, but wow do you need patience.
If you try to rush this, you end up with more on your hands than in your mouth. Just take your time and laugh if they’re not perfect squares. Who cares?
How to Store Homemade Marshmallows
So, you spent all this time on your marshmallow recipe and now—what, eat them all at once? Tempting, sure. But homemade marshmallows keep longer than you’d think.
Let them hang out at room temperature in an airtight container (like, really airtight, or they’ll dry out). Dust them again with powdered sugar if they start sticking together. I usually keep them for two weeks, and they’re just as springy. If you want them to last even longer, put them in the freezer. Just let them thaw back at room temp for best texture.
Avoid the fridge. They go weirdly soggy—no idea why, but trust me on this one.
Serving Suggestions
Here’s where you can have fun:
- Toss in a mug of hot chocolate—you’ll never go back.
- Toast them over a baked brie recipe if you’re feeling wild.
- Pack them up for s’mores at the next campfire. Friends will worship you.
- Chop and sprinkle a few on a warm bowl of arroz con leche recipe for the wildest dessert mashup ever.
Common Questions
Q: Can I make this marshmallow recipe without corn syrup?
A: Yes, you can try honey or maple syrup instead, but the texture changes a bit. Still tasty.
Q: Can I make vegan homemade marshmallows?
A: Swapping the gelatin for agar powder works, but it’s trickier. They set differently but get close.
Q: How thick should the mixture get before stopping the mixer?
A: It should look like thick, bright shaving cream and form soft peaks—almost holds shape but not stiff.
Q: Will homemade marshmallows melt like store-bought?
A: Oh yes, and they crisp up beautifully if toasted. Way more flavorful, honestly.
Q: What flavorings work in a marshmallow recipe?
A: Try peppermint, coconut extract, or even a little espresso powder for adult versions.
Ready for Fluffy Greatness? Try It Out!
So, if you were scared to try a marshmallow recipe—honestly, no more stalling. It’s really not rocket science. Few simple ingredients, a little patience, and you’ll shock yourself with the results. If you need even more guidance or want to peek at similar ideas, check out How to Make Homemade Marshmallows – Sally’s Baking, or maybe spin through How to make Marshmallows (tips and tricks for homemade …). For a cool classic, Simple Old-Fashioned Marshmallows (Corn Syrup Free) is a fun twist too. Time to get sticky, friends! 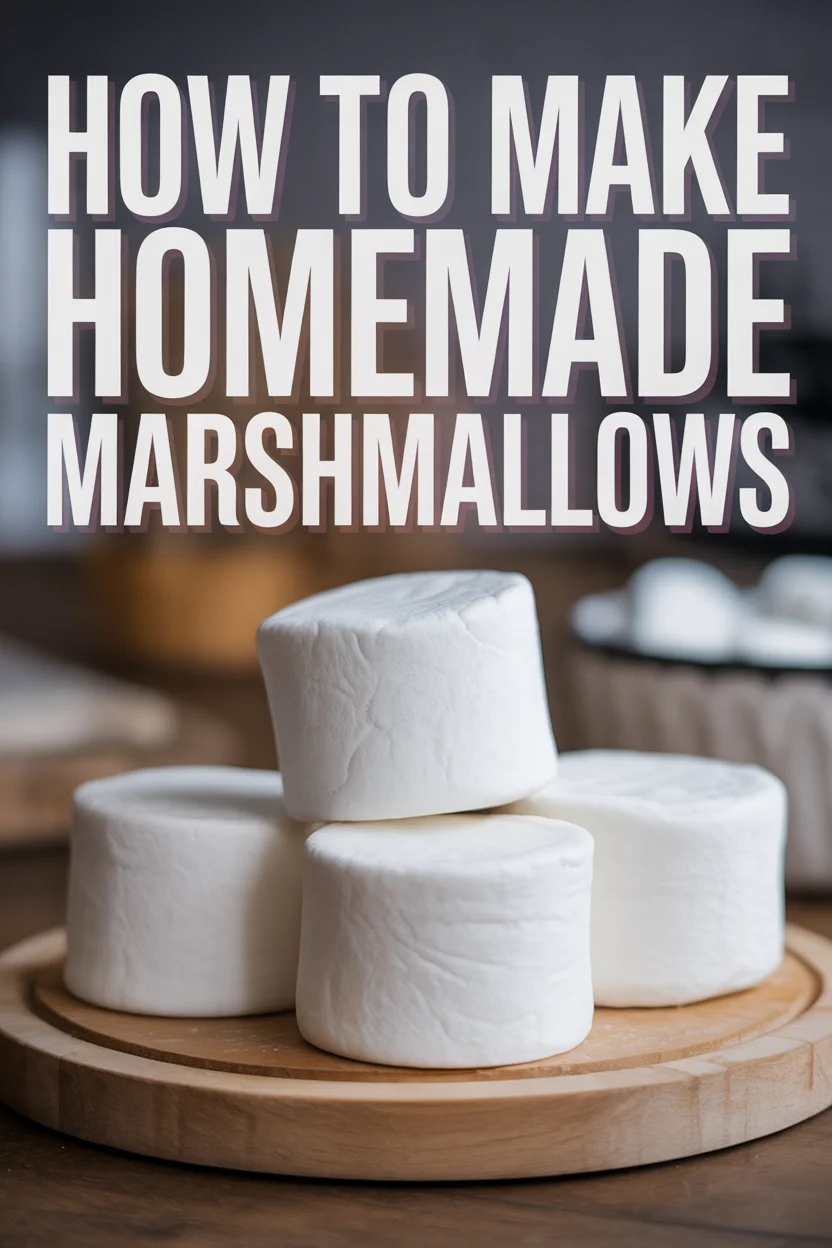
Fluffy Homemade Marshmallows
Ingredients
Main Ingredients
- 2 tablespoons Gelatin Use unflavored powdered gelatin.
- 1 cup Cold water Needed for blooming the gelatin.
- 2 cups Granulated sugar Standard white sugar.
- ½ cup Corn syrup Light corn syrup preferred.
- ¼ teaspoon Salt To balance the sweetness.
- 1 teaspoon Vanilla extract Use quality vanilla for best flavor.
- Powdered sugar as needed For dusting Prevents sticking.
Instructions
Preparation
- In a bowl, bloom the gelatin by mixing it with cold water and letting it sit.
- In a saucepan, combine granulated sugar, corn syrup, and additional water; heat until bubbly and it reaches 240°F.
- Pour the syrup into the bloomed gelatin while mixing on low speed to combine.
- Increase mixer speed to medium-high and continue mixing for about 10 minutes until thick and white.
- Add vanilla extract, then spread the mixture into a greased pan, dusting with powdered sugar on top.
Cutting and Storing
- Once set, dust the surface with more powdered sugar and cut into cubes using a knife coated with a mix of powdered sugar and cornstarch.
- Store in an airtight container at room temperature, dusting with powdered sugar if they start to stick.