Refrigerator dill pickles are the easiest way to get crisp, garlicky pickles with no canner and no special equipment. You pack cucumbers into jars, pour over a hot vinegar brine, and let the refrigerator do the rest.
These pickles are ready to eat after 24 hours and taste even better after two days. They are not shelf stable, so keep them cold, and plan on about 25 minutes of hands on time.
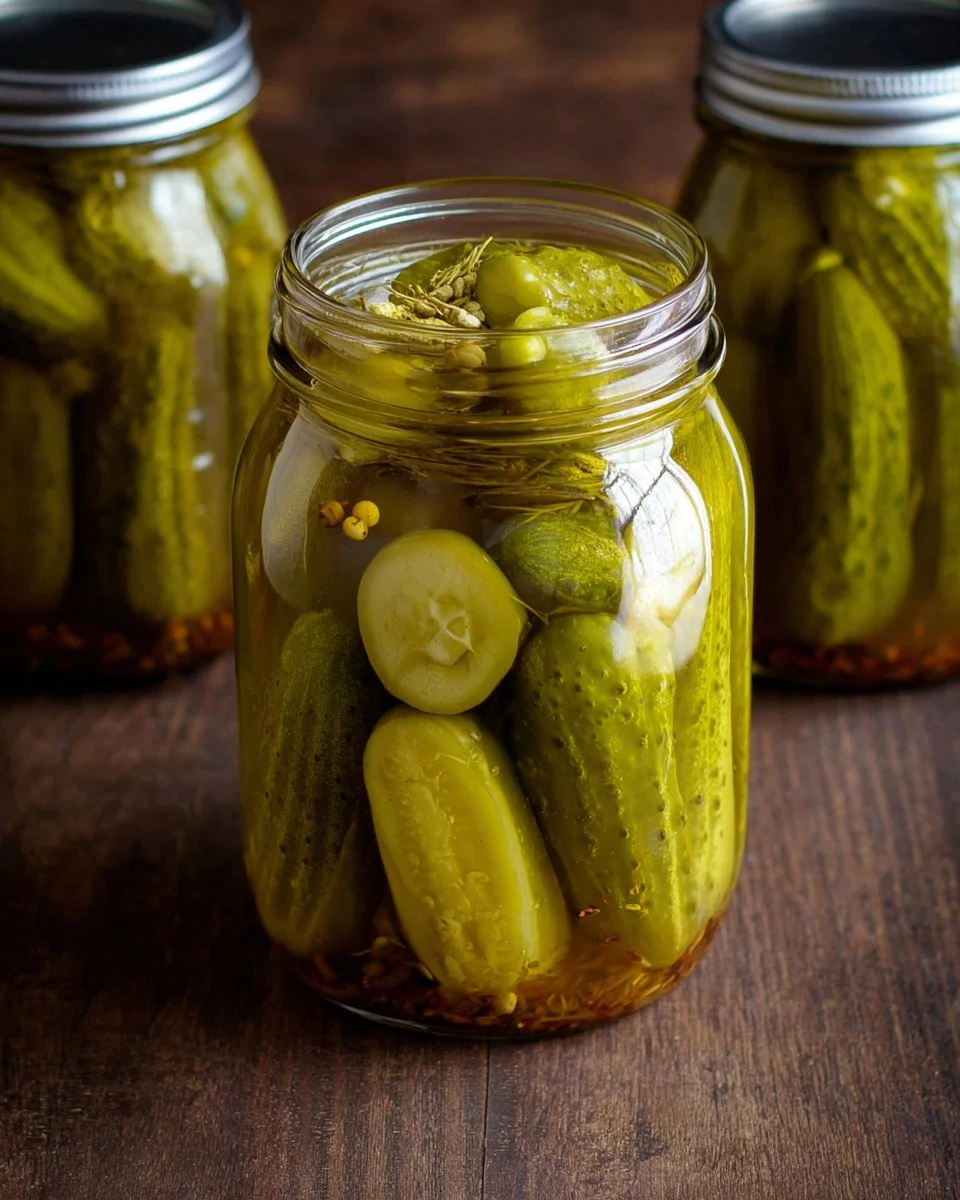
Table of Contents
Why This Refrigerator Dill Pickles Recipe Works
A brine of equal parts water and 5 percent vinegar is acidic enough to keep the flavor bright and the cucumbers snappy. Sugar softens the sharpness, and salt draws out moisture so the pickles stay crisp.
Dill, garlic, mustard seed, and peppercorns go straight into the jar, so each spear tastes the same from top to bottom. Because the jars stay in the refrigerator, you can skip processing and sealing altogether.
Ingredients for Refrigerator Dill Pickles
- 2 pounds firm pickling cucumbers, washed, blossom ends trimmed
- 2 cups water
- 2 cups distilled white vinegar (5 percent acidity)
- 3 tablespoons sugar
- 4 teaspoons pickling salt (3 teaspoons if using fine sea salt)
- 4 cloves garlic, halved
- 2 stems fresh dill with flowers, cut in half
- 2 teaspoons mustard seeds
- 1 teaspoon whole peppercorns
Cucumbers. Pickling cucumbers have thin skins and dense flesh, so they stay crisp. Trim the blossom end, which holds enzymes that soften the pickle.
Vinegar. Use distilled white vinegar with 5 percent acidity. Do not dilute it further than the recipe says.
Salt. Pickling salt dissolves clear and has no additives. Table salt with anti caking agents can cloud the brine.
Dill and garlic. Fresh dill gives the classic flavor. Dried dill works at about 1 teaspoon per jar.
How to Make Refrigerator Dill Pickles
1. Prep the jars. Wash two 1 quart jars and their lids in hot soapy water and rinse well.
2. Cut the cucumbers. Trim the blossom ends. Leave small cucumbers whole or cut larger ones into spears that sit about 1 inch below the jar rim.
3. Add the flavorings. Divide the garlic, dill, mustard seeds, and peppercorns between the jars.
4. Pack the jars. Stand the cucumbers upright and pack them snugly without crushing them.
5. Heat the brine. Combine the water, vinegar, sugar, and salt in a saucepan. Bring to a gentle boil, stirring until the sugar and salt dissolve, about 3 minutes.
6. Fill the jars. Pour the hot brine over the cucumbers, leaving 1/2 inch of space at the top. Make sure the cucumbers are fully covered.
7. Cool and chill. Let the jars cool on the counter for 30 minutes, cap them, and move them to the refrigerator. Wait at least 24 hours before eating.
How to Serve Refrigerator Dill Pickles
Spear pickles are a classic side for burgers, grilled sandwiches, and cheese boards. Chop them into dill pickle potato salad with eggs or blend a few into creamy dill pickle hummus.
You can also fry them for a crisp snack with the air fryer fried pickles method, or compare this jar with easy homemade dill pickles for a different brine style.
How to Store and Reheat Refrigerator Dill Pickles
Keep the jars in the refrigerator at all times. Because these are not canned, they are not shelf stable and should never be stored at room temperature.
Eat them within a few weeks for the ideal crunch, and use a clean fork to lift pickles out so no stray bacteria get into the jar.
Tips and Variations for Refrigerator Dill Pickles
Use the freshest cucumbers. Cucumbers picked the same day stay far crunchier than ones that have sat for a week.
Chill the cucumbers first. An ice bath for 30 minutes before packing keeps them firm.
Keep the vinegar ratio. Equal parts water and vinegar keeps the brine acidic, so do not water it down.
Add heat. A few slices of jalapeno or a pinch of red pepper flakes in each jar makes a spicy batch.
Pack tightly. Snug cucumbers do not float, so they stay under the brine.
Try different cuts. Slices or chips pickle faster than whole cucumbers, so check them sooner.
Be patient. Flavor builds each day, and the garlic and dill really come through by day two or three.
Know the storage basics. For general cold storage guidance, see this Purdue Extension leftovers guide.
Frequently Asked Questions About Refrigerator Dill Pickles
How long do refrigerator dill pickles last?
They keep for a few weeks in the refrigerator, and the crunch is ideal in the first couple of weeks. Discard them if the brine turns slimy or smells off.
Can I can refrigerator dill pickles to store them on the shelf?
No. This brine is made for the refrigerator and is not a tested canning recipe. For shelf stable pickles, follow a tested canning recipe from a trusted extension source.
Why are my refrigerator dill pickles soft?
The usual causes are old cucumbers, a blossom end left on, or a brine that was not acidic enough. Start with fresh cucumbers and keep the ratio as written.
Can I reuse the brine?
Reusing it for a second batch is not a good idea, because the water from the first cucumbers dilutes it. Make fresh brine each time.
Can I use apple cider vinegar?
Yes, if it is labeled 5 percent acidity. The flavor will be fruitier and the brine a little darker.
Refrigerator Dill Pickles
Equipment
- Two 1 quart jars
- Saucepan
- Cutting board
- Knife
Ingredients
Main Ingredients
- 2 lb firm pickling cucumbers washed, blossom ends trimmed
- 2 cup water
- 2 cup distilled white vinegar 5 percent acidity
- 3 tbsp sugar
- 4 tsp pickling salt or 3 teaspoons fine sea salt
- 4 cloves garlic halved
- 2 stems fresh dill with flowers cut in half
- 2 tsp mustard seeds
- 1 tsp whole peppercorns
Instructions
Cooking
- Prep. Wash two quart jars. Trim the cucumber ends and cut into spears.
- Pack the jars. Divide the garlic, dill, mustard seeds, and peppercorns between the jars, then pack in the cucumbers.
- Make the brine. Boil the water, vinegar, sugar, and salt for 3 minutes, until dissolved.
- Fill. Pour the hot brine over the cucumbers, leaving 1/2 inch of space.
- Chill. Cool 30 minutes, cap, and refrigerate at least 24 hours.